The first is some important safety information: the solar inverter generates 110V/120V/220V/230V alternating current, just like a household socket, it is enough to threaten life. It is important to install and use them carefully. To
Step 1: Choose a good place
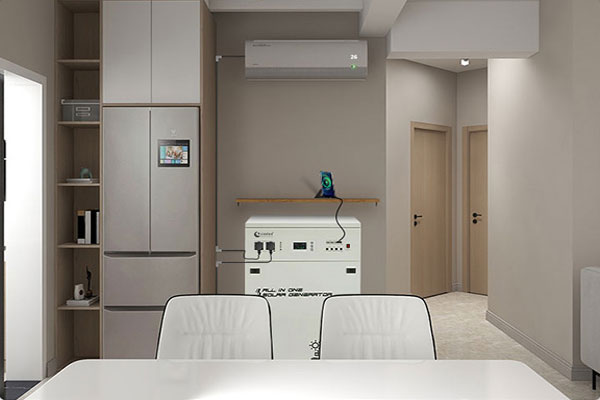
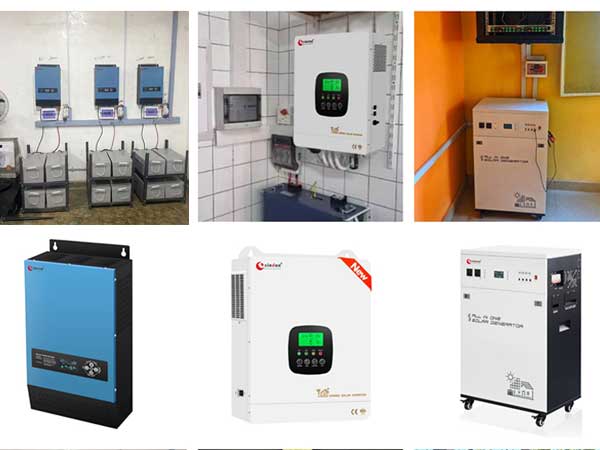
The place where the solar inverter is installed should be as close to the battery as possible, and in a dry, well-ventilated place. Wall-mounted solar inverters have mounting holes, and you can screw them to the wall. When choosing a location, make sure that DC terminals, sockets, switches and fuses can still be used.
Step 2: Connect the battery
Use the supplied cable to connect the inverter to the battery. It is possible to shorten the cables, but if the cables are too short, they should be replaced with thicker and longer cables.

Step 3: Ground the solar inverter
Grounding is very important. If the solar inverter and your equipment are not grounded, a fault in the equipment may make the connected equipment and the inverter live. If your solar inverter has a ground point, use a thicker wire to connect it to a suitable ground.
Step 4: Insert test equipment
Observe the maximum rated power of the solar inverter, plug the device into the AC power socket of the inverter, and then turn on the inverter. The power indicator should light up, and you might hear the fan running.
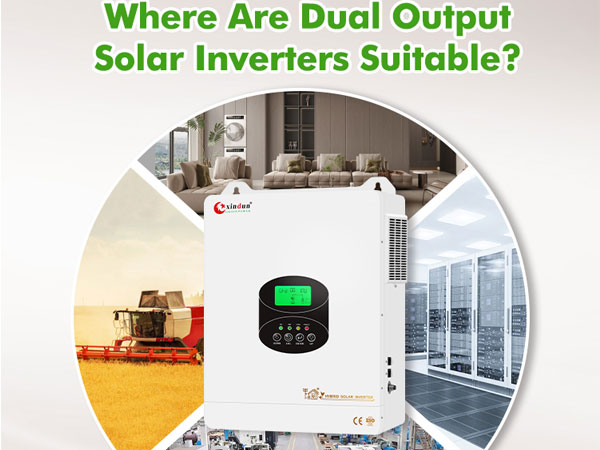
Xindun LS wall-mounted solar inverter has a small footprint and is easy to install. If necessary, please consult.